PID Controller for 3D Rocket Simulation
Welcome to my rocket simulation project. This project aims to show how rockets can stay stable and land precisely using a PID (Proportional-Integral-Derivative) controller within a simulated 3D environment. The entire simulation is built in the Unity game engine.
As hinted by the the image banner of this page, the inspiration of this project comes from the simultaneous landing of SpaceX's dual side boosters in 2018. The precision of their synchronized touchdown was awe-inspiring and sparked my interest in looking into rocket control systems. This project is my attempt to replicate that level of precision in a simulated environment.
For the codebase of this project along with a Unity build, please refer to the GitHub repository. Please note that the code for this project is poorly written and lacks sufficient comments. It has not been rewritten or refactored to adhere to standard coding practices. Therefore, we recommend using the concepts and ideas presented rather than relying on the code itself.

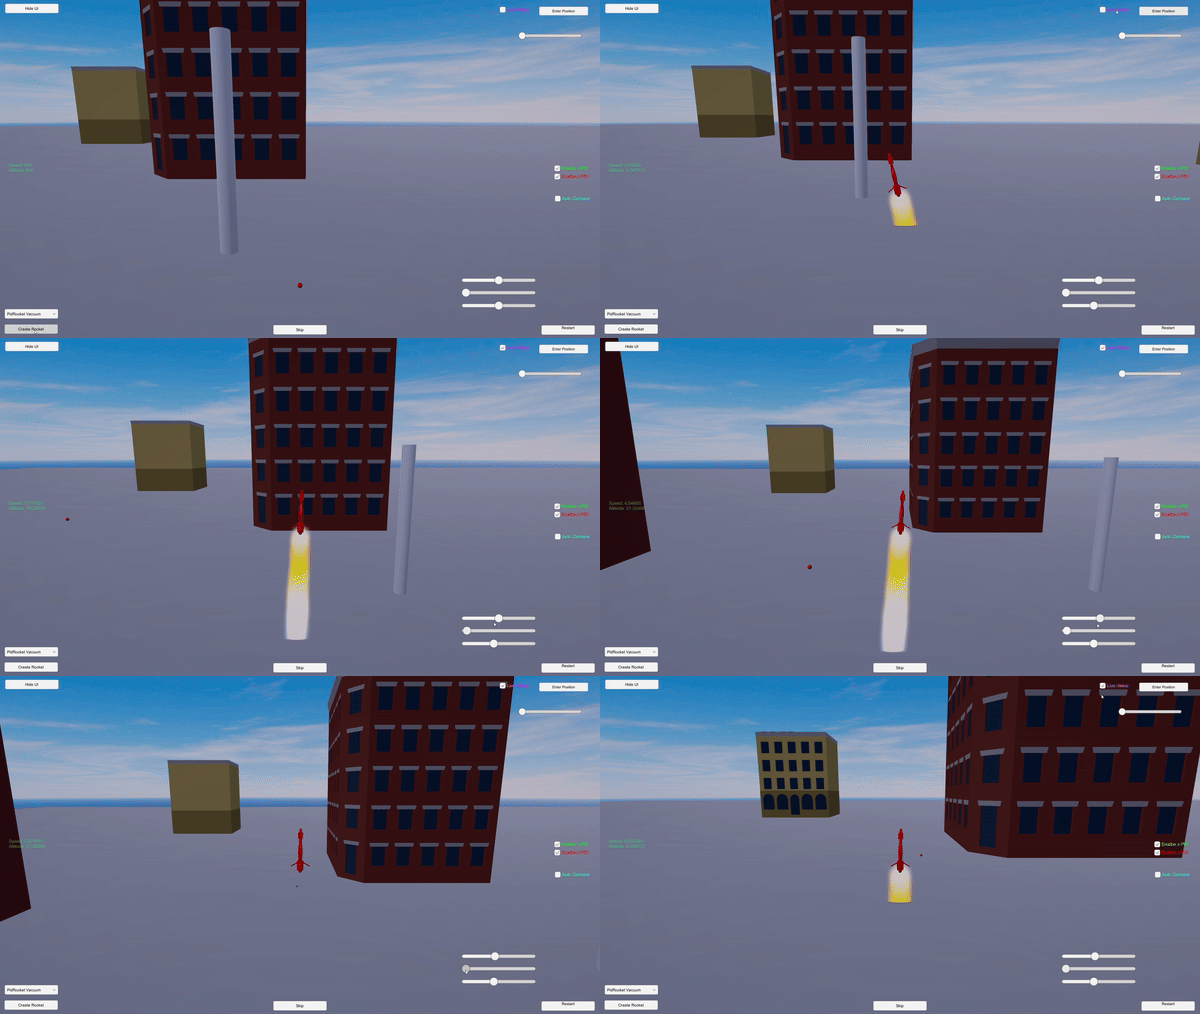
Maneuverability: The rocket smoothly moves to the target location exercising precise movement.

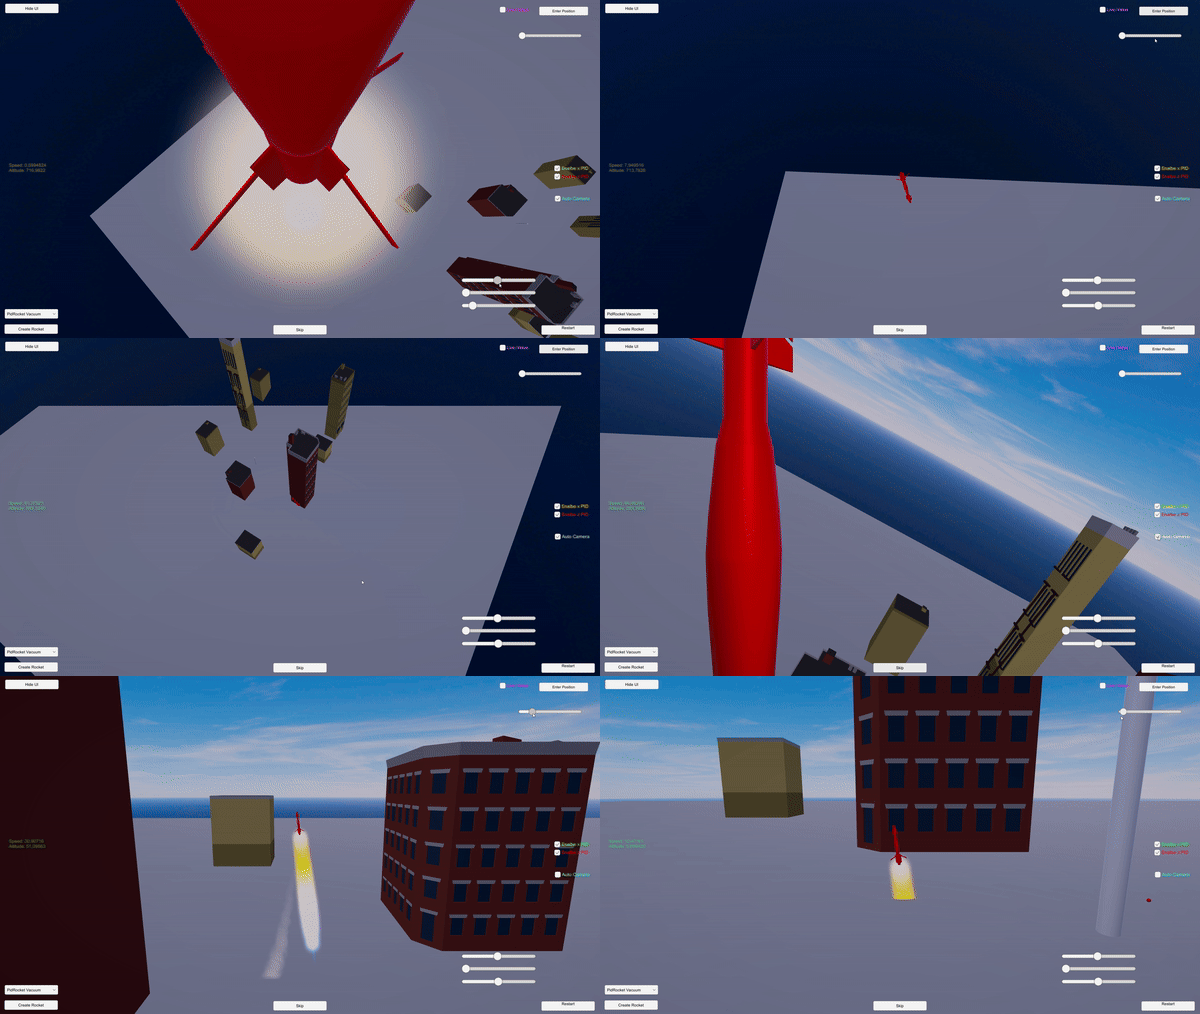
Controlled Descent: The rocket performs a precise ‘suicide burn’ landing.
Project Overview
This project involves controlling a rocket in a 3D simulation using a PID controller. The controller manages the rocket's stability, rotation, and movement towards a target location. For this project we have two key features:
- Smooth Maneuverability: The rocket adjusts itself based on the target, making smooth movements to minimize oscillations.
- Controlled Descents: The rocket is able to transition from high altitude to ground level, performing maneuvers like pre-burns and ‘suicide burn’ landings.
In this article, we aim to provide an overview of the project, starting with explanations of the assumptions made to simplify the simulation. Furthermore, we will offer insights into the development process, from initial concepts to final iterations, and discuss the challenges faced and lessons learned. Visual demonstrations are also provided.
Assumptions
To simplify some of the complexities of the rocket's movement, we have certain restrictions and assumptions:
- The rocket does not have built-in sensors monitoring its orientation; instead, it has access to the position and rotation data provided by the Unity engine.
- The rotation around the \(y\)-axis is locked. This avoids the complexities of rotating around the \(x\)- or \(z\)-axis when the y rotation is non-zero.
- Instead of using thrusters for rotation, the rocket directly modifies the rotation parameter of the game object in Unity. As a result, rotation is not handled by the physics engine.
- The rocket's rotations around the \(x\)- and \(z\)-axes are limited to some extent to prevent the rocket from flipping upside down.
Initial Idea Using Physics Formulas
When starting this project, I wanted to replicate the controlled maneuvers seen in real rockets, like SpaceX's Falcon 9. With no experience with PID controllers (I hadn’t even heard of them before), my initial approach was to use physics formulas from my high school physics classes to calculate the necessary speed and timing for the rocket to reach the target location with exact precision. The following is a breakdown of the components of the rocket implementing physics formulas found in the AiController.cs script.
FixedUpdate Method: We continuously check whether the motor should be active or not to maintain smooth movement.
private void FixedUpdate() {
    if (!ShouldCutOff()) {
        myMovement.UseMotor();
        usedMotor = true;
    } else {
        usedMotor = false;
    }
}
ShouldCutOff Method:This method calculates current speed and distance to target, determining whether to cut off the motor.
private bool ShouldCutOff() {
    currentSpeed = CalculateCurrentSpeed();
    distanceLeft = myMovement.target.position.y - this.transform.position.y;

    if (distanceLeft < 0) {
        // Target is below
    } else {
        // Target is above
        timeUntilTop = CalculateTimeUntilTop();
    }

    return distanceLeft < someThreshold; // someThreshold defined elsewhere
}
CalculateCurrentSpeed Method:Calculates the current speed, adjusting for whether the motor is on or off.
private float CalculateCurrentSpeed() {
    if (usedMotor) {
        return Mathf.Sqrt(2 * (myAcceleration - 1) * 9.81f * this.transform.position.y);
    } else {
        return Mathf.Sqrt(2 * (myAcceleration - 1) * 9.81f * this.transform.position.y) / 9.81f;
    }
}
CalculateTimeUntilTop Method:Determines the time needed to reach the highest point based on current acceleration.
private float CalculateTimeUntilTop() {
    return Mathf.Sqrt(2 * (myAcceleration - 1) * 9.81f * this.transform.position.y) / 9.81f;
}
Physics Formulas: The physics formulas used are broken down into the following:
- Speed with Motor:
currentSpeed = sqrt(2 * (myAcceleration - 1) * 9.81 * currentHeight) - Speed without Motor:
currentSpeed = sqrt(2 * (myAcceleration - 1) * 9.81 * currentHeight) / 9.81 - Time to Reach Top:
timeUntilTop = sqrt(2 * (myAcceleration - 1) * 9.81 * currentHeight) / 9.81
These formulas ensure the rocket knows its current speed and the time until it reaches the target locatino. By combining this information, the rocket is able to perfectly stop at its desired location.
Evolution from Elevator to Rocket
In an effort to solve the limitations presented in the rocket implementing physics formulas, I found out about PID controllers. Initially, I started with a simpler prototype: an elevator. This elevator was designed to go up and down using PID control principles to match the altitude of a target object. All rotations and movements was locked, except for in the \(y\) direction.
- Elevator Prototype: The elevator moved to a target height using a PID controller, helping me understand the basics of PID control in a controlled environment.
- Lessons Learned: This prototype taught me how to tune PID parameters and handle edge cases like oscillations.
- Transition to Rocket: With the insights gained from the elevator prototype, I moved on to the more complex rocket simulation, tackling additional challenges like rotational stability and 3D movement.
Prototypes and Iterations
The following is a list of iterations of the rocket.
- Prototype 1: Physics-Based Control: This initial approach used physics formulas but proved itself too simplistic for dynamic changes.
- Prototype 2: Elevator with PID Controller: The elevator used a PID controller to reach a target altitude, which was crucial for understanding PID control.
- Prototype 3: Basic Rocket: The first rocket prototype had basic control but was very unstable.
- Prototype 4: Improved Rocket: Stability was improved by fine-tuning the PID parameters.
- Prototype 5: Advanced Rocket: Added features like descent maneuvers and smooth landings.
Pre-Ignite Phase for Descent
The pre-ignite phase enhances the rocket system to enable more sophisticated landings. Without this addition, if the rocket needed to move to a lower altitude, it would simply turn off its engines and drop down. By incorporating the AdjustFallingPath.cs script, the rocket gains momentum and adjusts its descent path and velocity, allowing it to drift in the \(xz\)-plane for more efficiency.
The script is designed to fine-tune the rocket's descent by managing its position and speed as it approaches the landing target.
- Update Loop: Continuously checks the rocket's distance to the target. If the rocket is significantly above the target, it triggers the descent phase.
- Descent Adjustment: Once in the descent phase initiaed by the update loop, it starts a timer and calculates the necessary adjustments to the rocket's position and speed for a smooth and controlled landing.
Here's a snippet from the script to give an idea of how it works:
void Update() {
    if (target.position.y - transform.position.y < -100) {
        decreaseHeight = true;
    }
}

void FixPosOnWayDown() {
    if (!decreaseHeight || startTimer) return;
    startTimer = true;
    timer = Time.timeSinceLevelLoad + timeAdd;
    Vector3 distanceInXZ = target.position - transform.position;
    distanceInXZ.y = 0;
    float lengthXZ = distanceInXZ.magnitude;
}
Rotation Control for \(x\) and \(z\) Axes
Controlling the rocket's rotation along the \(x\) and \(z\) axes is crucial for maintaining stability during maneuvers. for instance, the RotationPID02 and RotationMotor02 scripts handle the \(x\) rotation.
RotationPID02 Script
This script calculates the necessary rotational adjustments to keep the rocket stable.
public void PidCalculation(Vector3 target, Vector3 currentValue, float currentVelocity)
{
    Vector3 error = target - currentValue;
    float fError = error.z;

    float constant = 0;
    float errorHeight = error.y;

    if (newTargetPos)
    {
        imaginaryPosZ = target.z / 4;
        imaginaryPosZ = target.z - (target.z - currentValue.z) * sailingValue;
        imaginaryPosZToRight = target.z + (currentValue.z - target.z) * sailingValue;
        newTargetPos = false;
    }

    if (currentValue.z > target.z)
    {
        targetIsToRight = false;
    }
    if (currentValue.z < target.z)
    {
        targetIsToRight = true;
    }

    integral += fError * Time.fixedDeltaTime;
    float errorSlope = (fError - oldError) / Time.fixedDeltaTime;

    output = (integral * Ki) + (errorSlope * Kd * constant) + (fError * Kp);

    if (isClamp)
    {
        output = Mathf.Clamp(output, min, max);
    }

    oldError = fError;
}
RotationMotor02 Script
This script applies the calculated rotational adjustments to the rocket.
public void ApplyRotation(float sideThrust)
{
    localDegrees = this.transform.localEulerAngles.x;
    localDegrees = (localDegrees > 180) ? localDegrees - 360 : localDegrees;
    degreesPercentage = localDegrees / MaxRotationAllowed();

    if (percentageOutput < -degreesPercentage)
    {
        float rotationPower = Mathf.Abs(myRotationPid.GetOutput());
        if (float.IsNaN(rotationPower))
        {
            return;
        }

        this.transform.Rotate(-Vector3.right * sideThrust * rotationPower * Time.fixedDeltaTime, Space.Self);
    }
}
Challenges
When working on this project, two parts proved themselves more challenging than expected.
- Creating the First PID Controller Prototype: Finding information specifically on applying PID controllers in Unity for flying systems was difficult. This led to a lot of experimenting from scratch and without relying heavily on online sources.
- Transitioning from One-Dimensional to Three-Dimensional Control: Moving from controlling a single variable (\(y\)) to managing all three dimensions with rotation controllers was a significant challenge as this complicated the parameter tuning to cover a wider variety of scenarios.
Conclusion
Working on this project provided valuable insights into the inner workings of PID controllers and how to best leverage the Unity engine. If I were to revisit this project, I might explore using different sensors or more advanced control algorithms to further enhance the rocket's performance. Feel free to examine the code and try the simulation yourself.
